
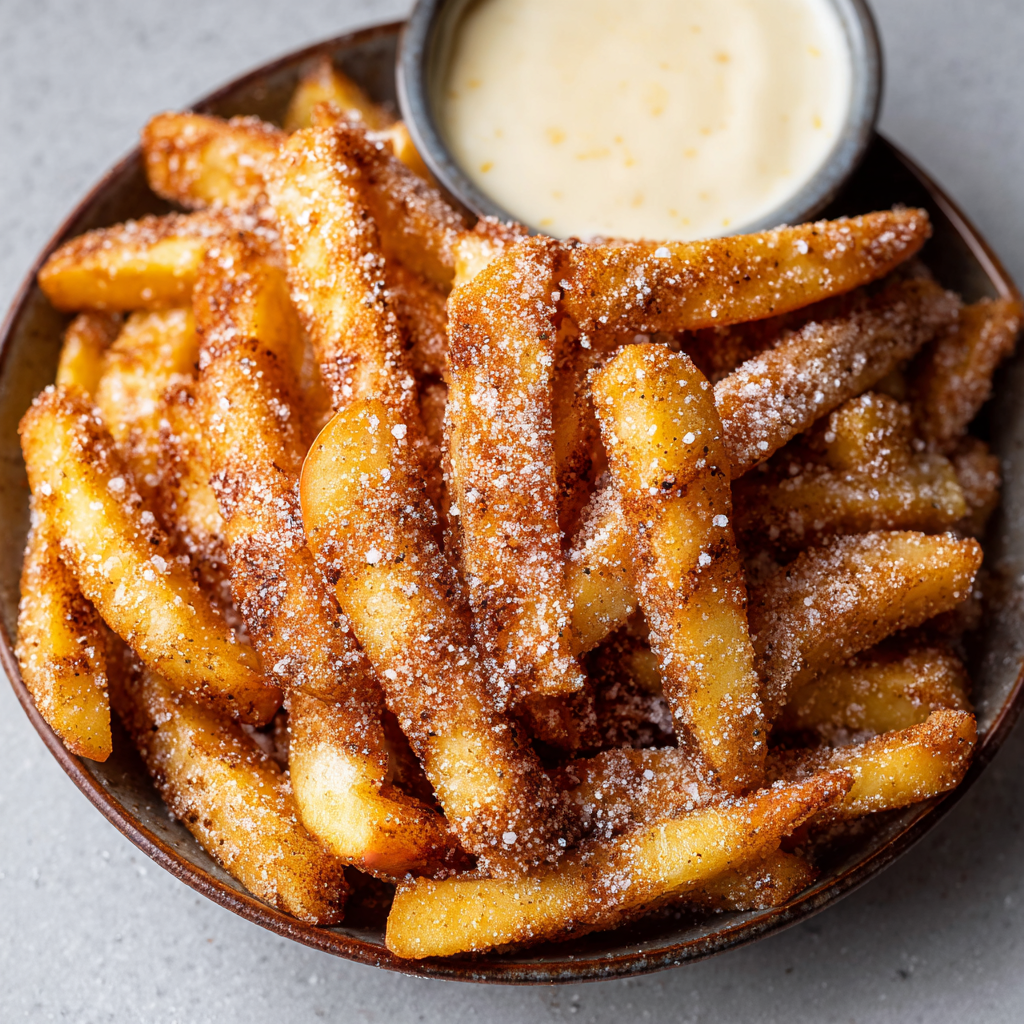
Onion Ring Chips

Crispy, golden onion rings turned into crunchy chips with a panko coating and tangy buttermilk soak—perfect for dipping and sharing.

This batch of onion ring chips is my favorite answer to the age-old question: how do you make onions irresistible? I first stumbled on this method during a warm weekend cookout when I wanted something lighter than the usual thick batter rings. By slicing onions thin, soaking them briefly in buttermilk, and coating with panko breadcrumbs, the result is a delicate, crackling chip that shatters with a satisfying crunch and reveals sweet, caramelized onion inside. It became an instant hit with family and friends, and now I make it whenever we want something shareable, snackable, and a little bit indulgent.
I remember the first time I plated these; the golden discs disappeared faster than any burger or salad I served alongside. The texture is the magic: a whisper-thin onion center wrapped in a brittle panko shell that stays crisp for minutes, not seconds. The flavor balances sweet onion, warm paprika, and a subtle garlic note. These are great for parties, game night, or a weekend treat. They are easy to scale and forgiving to technique, which makes them a dependable favorite in my kitchen.
Why You'll Love This Recipe
- Ready quickly: about 30 minutes from start to finish, ideal for last-minute snacks and casual entertaining.
- Uses pantry staples: all-purpose flour, panko, and common spices so you rarely need a special shop run.
- Light but crunchy: thinly sliced rings give a chiplike texture while the panko creates long-lasting crispness.
- Make-ahead friendly: you can pre-slice and soak the onions and finish frying just before serving.
- Kid-approved and crowd-pleasing: a familiar flavor profile that pairs with ketchup, aioli, or spicy mayo.
- Flexible for dietary swaps: easy to adapt for gluten-free or dairy-free versions by swapping a few ingredients.
My family’s reaction the first time was so loud that our neighbor asked what smelled so good. I learned that choosing the right onion and slicing evenly makes all the difference. Over several batches I refined the soak time and the frying temperature to get the most consistent crunch without overcooking the onion. It’s become my go-to snack for when I want something crispy and satisfying without the heaviness of traditional beer-battered rings.
Ingredients
- 2 large onions sliced into 1/4-inch rings: Choose sweet yellow or Vidalia onions for balanced sweetness that caramelizes quickly. Look for firm onions without soft spots; slicing evenly is more important than the variety.
- 1 cup all-purpose flour: Gives structure to the coating and helps the buttermilk adhere. If you prefer a lighter finish, sift the flour before use.
- 1 teaspoon garlic powder: Adds savory depth without adding moisture. Use a jarred brand you trust or freshly ground garlic powder for more aromatic punch.
- 1 teaspoon paprika: I use smoked paprika for a subtle warmth, but regular sweet paprika works fine too. It adds color and a rounded flavor.
- 1/2 teaspoon salt and 1/2 teaspoon black pepper: Basic seasoning for both the flour and the final sprinkle after frying, adjusted to taste.
- 1 cup buttermilk: The acid in buttermilk tenderizes the outer layer of the onion and helps the coating bind. If you don’t have buttermilk, mix 1 cup milk with 1 tablespoon lemon juice and let sit 5 minutes.
- 2 cups panko breadcrumbs: Panko yields an airy, shattery crust that stays crisp longer than regular breadcrumbs. Use Japanese-style panko for best texture.
- Vegetable oil for frying: Use a neutral oil with a high smoke point such as canola, sunflower, or peanut oil. You need enough to shallow-deep fry so the rings float freely.
Instructions
Prepare the onions:Peel and slice the onions into 1/4-inch rings, separating them into full circles where possible. If some rings break, collect the halves and treat them the same. Even thickness ensures even cooking. If you have a mandoline, set it to 1/4 inch for consistent slices; otherwise use a sharp chef’s knife and steady hands.Make the dry mix:In a shallow bowl combine the all-purpose flour, garlic powder, paprika, salt, and black pepper. Whisk to distribute the spices evenly. This seasoned flour seals moisture and gives the coating a base flavor.Soak in buttermilk:Place onion rings in a wide bowl and pour the buttermilk over them. Let them sit for 5 minutes—this softens the outer layer and helps the flour stick. Do not soak longer than 10 minutes or the onions can become too soft for a crisp finish.Coat with flour and panko:Working in batches, dredge each ring first in the seasoned flour, shaking off excess, then dip briefly back into buttermilk if needed, and press into panko breadcrumbs until well-coated. For extra adhesion press a second thin layer of panko on the outside. Keep coated rings on a baking sheet while you heat the oil.Heat the oil:Pour 1 to 1.5 inches of oil into a heavy skillet or deep fryer and heat to 350°F. Use a candy thermometer or an infrared thermometer for accuracy. If the oil is too hot the panko will burn before the onion warms through; too cool and the coating will soak oil and be greasy.Fry until golden:Fry the rings in small batches so the oil temperature stays stable. Each batch should take 2 to 3 minutes, turning once, until a deep golden color appears. Remove with a slotted spoon or tongs and drain on paper towels. Season lightly with salt while still hot.Serve and enjoy:Allow the rings to rest 1 minute after frying to set the crust, then serve immediately with your favorite dip. Leftovers can be reheated in a hot oven for the best crispness.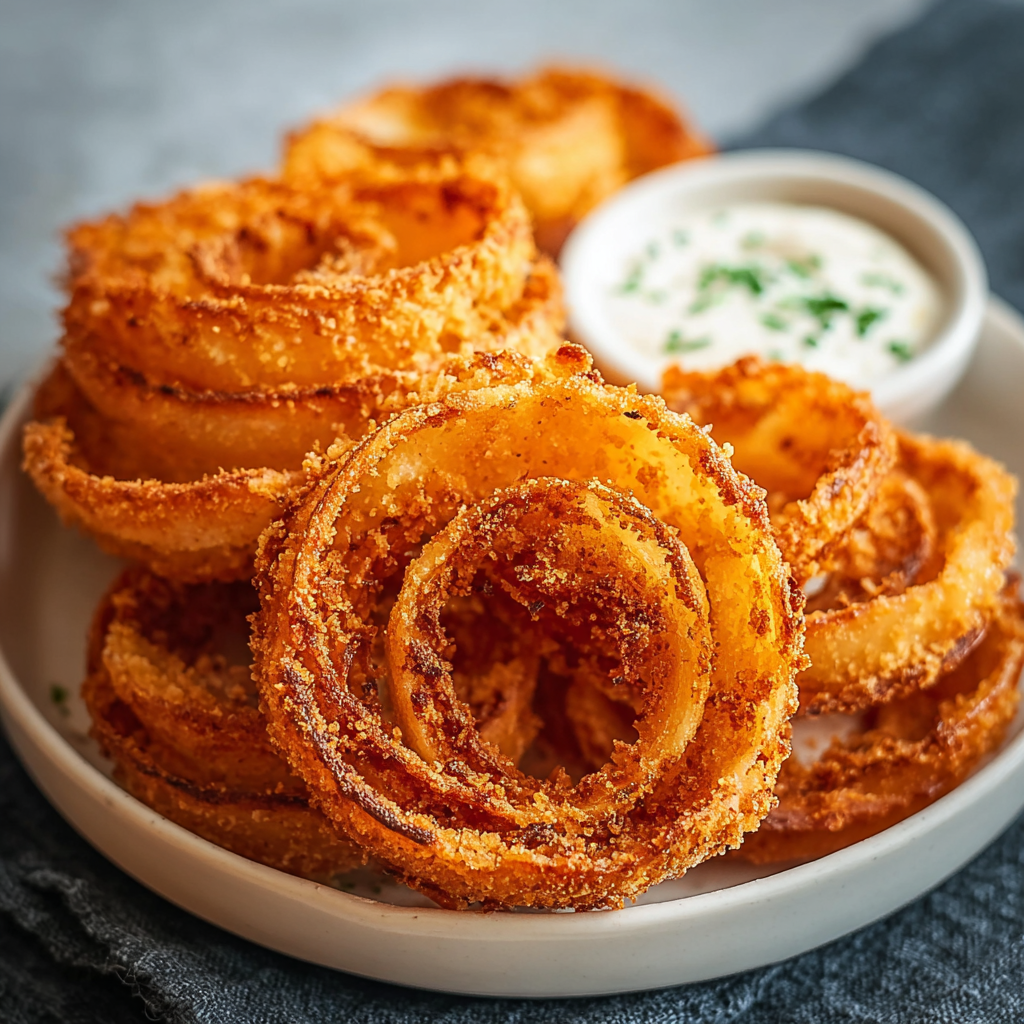
You Must Know
- These chips are best eaten within 20 to 30 minutes of frying to enjoy maximum crunch; they will soften over time but can be re-crisped in a 400°F oven for 5 minutes.
- Use a thermometer: maintaining 350°F keeps the outside from overbrowning while allowing the onion to warm through.
- They freeze well if fully cooked and cooled, laid flat in a single layer, and stored airtight for up to 3 months; reheat from frozen in a hot oven for 8 to 10 minutes.
- Turnover time: plan for about 30 minutes total, including prep and frying for a standard batch that serves four as a snack.
My favorite part is the ritual of dipping: a squeeze of lemon in the aioli with a dusting of smoked paprika brings out the onion’s sweetness. I’ve found friends judge new cooks by how evenly they coat the panko, and the first time my teenage nephew helped me bread a batch he declared it better than the local diner’s version. That little moment—teaching a simple technique and watching someone’s face light up at the crunch—is why I keep making these.
Storage Tips
Store leftover chips in a single layer at room temperature for short periods, but for best texture refrigerate in an airtight container for up to 2 days. To re-crisp, preheat the oven to 400°F, arrange the chips in a single layer on a baking sheet, and heat for 5 to 8 minutes. Avoid microwaving as it makes the coating soggy. For freezing, flash-freeze the cooked chips on a tray before transferring to a freezer bag; this prevents sticking and preserves shape. Label with date and use within three months for optimal flavor.
Ingredient Substitutions
If you need gluten-free options swap the all-purpose flour and panko for a gluten-free 1-to-1 flour and gluten-free panko respectively; the texture will be slightly different but still crisp. For a dairy-free version replace buttermilk with 1 cup unsweetened almond milk plus 1 tablespoon apple cider vinegar to mimic acidity. To add more flavor, swap smoked paprika for cayenne for heat or add 1 tablespoon grated Parmesan to the panko for a savory boost. If you want a lighter version, consider baking at 425°F, turning once midway, until golden crisp.
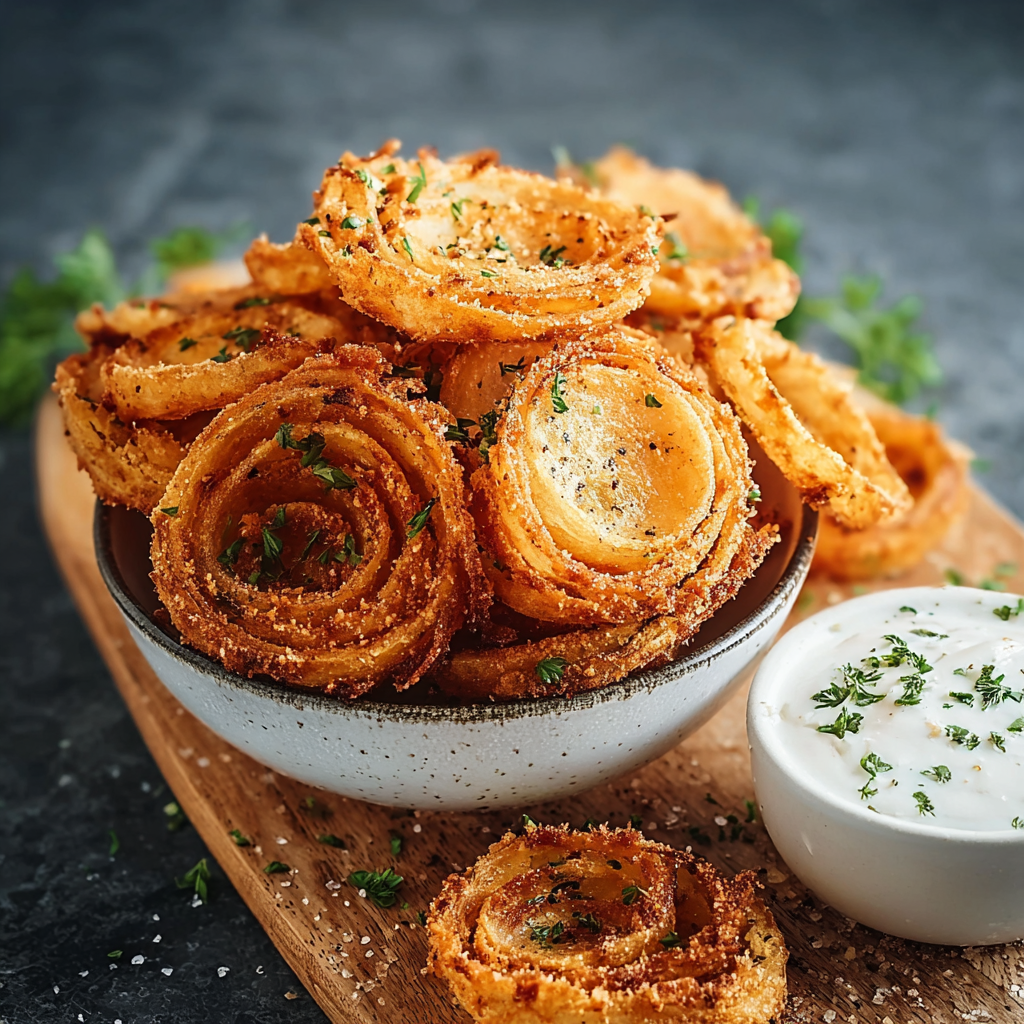
Serving Suggestions
Serve these chips as a snack plate with dipping sauces like garlic aioli, spicy ketchup, or ranch dressing. They pair beautifully with sliders, grilled sausages, and fresh salads to add textural contrast. Garnish with chopped chives or a light dusting of flaky salt for an elegant touch. For a party, arrange them around a central bowl of dip so guests can grab and dunk. They also make a playful side for weeknight fish tacos or a casual burger night.
Cultural Background
Onion rings are a beloved snack in American diner culture, often thick and beer-battered. This thinner, panko-crusted approach borrows from Japanese breadcrumb techniques where panko creates a lighter, airier crust. The idea of making chips from onions is part innovation, part practicality—thin slices reduce frying time and increase crunch. Many regional variations exist across the U.S., from Cajun-spiced to beer-batter styles; this method falls into a modern hybrid that emphasizes texture while keeping flavors familiar.
Seasonal Adaptations
In summer highlight sweet onions like Vidalia for a lighter, sweeter chip. For winter build warmth with a pinch of ground cumin and replace paprika with smoked paprika for deeper notes. At holiday gatherings add nutmeg or a touch of cane sugar in the flour for a slightly glazed effect. You can also pair chips with seasonal dips, such as a roasted red pepper aioli in late summer or horseradish crème for colder months.
Meal Prep Tips
To streamline assembly for gatherings, slice onions and store them dry on paper towels in the fridge up to 24 hours. Mix the flour and panko into separate shallow containers so guests or helpers can bread rings quickly. Preheat oil just before guests arrive and keep a tray warm in a low oven for batches you fry early. If making several batches, allow oil to recover to 350°F between rounds to keep consistent color and crunch.
These onion ring chips are a small joy—crunchy, a little indulgent, and deeply shareable. Whether served at a backyard barbecue or an after-school snack, they invite everyone to gather, dip, and enjoy. Try them tonight and adjust the spice profile to match your favorite dip; I promise they’ll disappear fast.
Pro Tips
Keep the oil at a steady 350°F; too hot and the panko will burn, too cool and the chips will be greasy.
Slice onions evenly at 1/4 inch for consistent cooking and ideal chip texture.
Press the panko firmly for a better bond between coating and onion, but avoid compressing the layer so much that it becomes dense.
This nourishing onion ring chips recipe is sure to be a staple in your kitchen. Enjoy every moist, high protein slice — it is perfect for breakfast or as a wholesome snack any time.
Tags
Onion Ring Chips
This Onion Ring Chips recipe makes perfectly juicy, tender, and flavorful steak every time! Serve with potatoes and a side salad for an unforgettable dinner in under 30 minutes.
Ingredients
Main
Instructions
Slice the onions
Peel and slice the onions into 1/4-inch rings, separating them gently into circles. Use a mandoline for uniform thickness or a sharp knife for careful, even slices.
Mix dry ingredients
Combine 1 cup flour, 1 teaspoon garlic powder, 1 teaspoon paprika, 1/2 teaspoon salt, and 1/2 teaspoon black pepper in a shallow bowl and whisk to combine.
Soak in buttermilk
Place rings in a wide bowl, pour 1 cup buttermilk over them, and let sit 5 minutes to tenderize the outer layer to help the coating stick.
Coat with flour and panko
Dredge each ring in the seasoned flour, shake off excess, dip briefly in buttermilk if necessary, then press into 2 cups panko breadcrumbs until well coated. Repeat in small batches.
Heat oil to 350°F
Pour oil into a heavy skillet to a depth of 1 to 1.5 inches and heat to 350°F. Use a thermometer to maintain temperature between batches.
Fry until golden
Fry rings in small batches for 2 to 3 minutes, turning once, until deep golden. Drain on paper towels and season with a light sprinkle of salt while hot.
Serve
Let the chips rest one minute to set the crust, then serve immediately with preferred dips or sauces.
Last Step: Please leave a rating and comment letting us know how you liked this recipe! This helps our business to thrive and continue providing free, high-quality recipes for you.
Nutrition
Did You Make This?
Leave a comment & rating below or tag
@cozycookscorner on social media!
Categories:
You might also like...
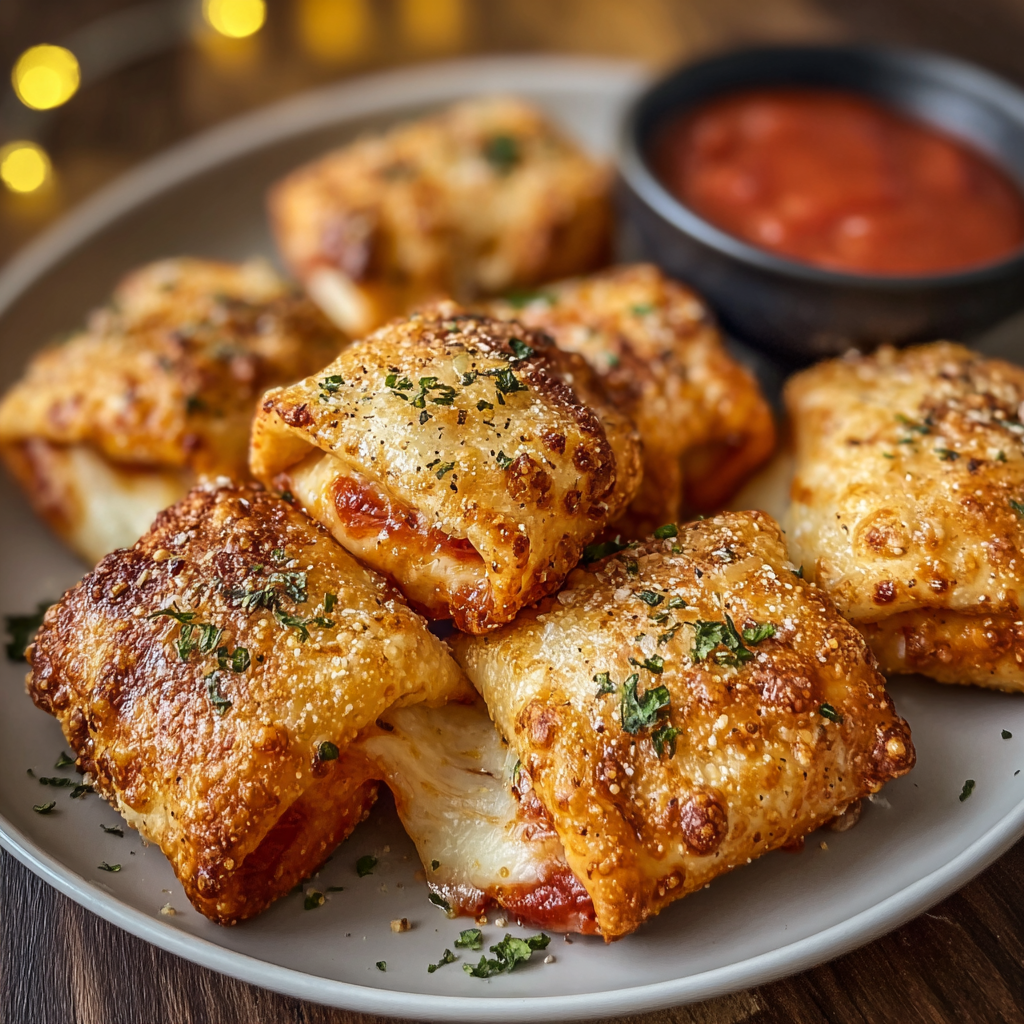
Air-Fried Pizza Rolls
Golden, crispy pizza rolls made in the air fryer — a quick, family-friendly snack with melty cheese, pepperoni, and a marinara dip.
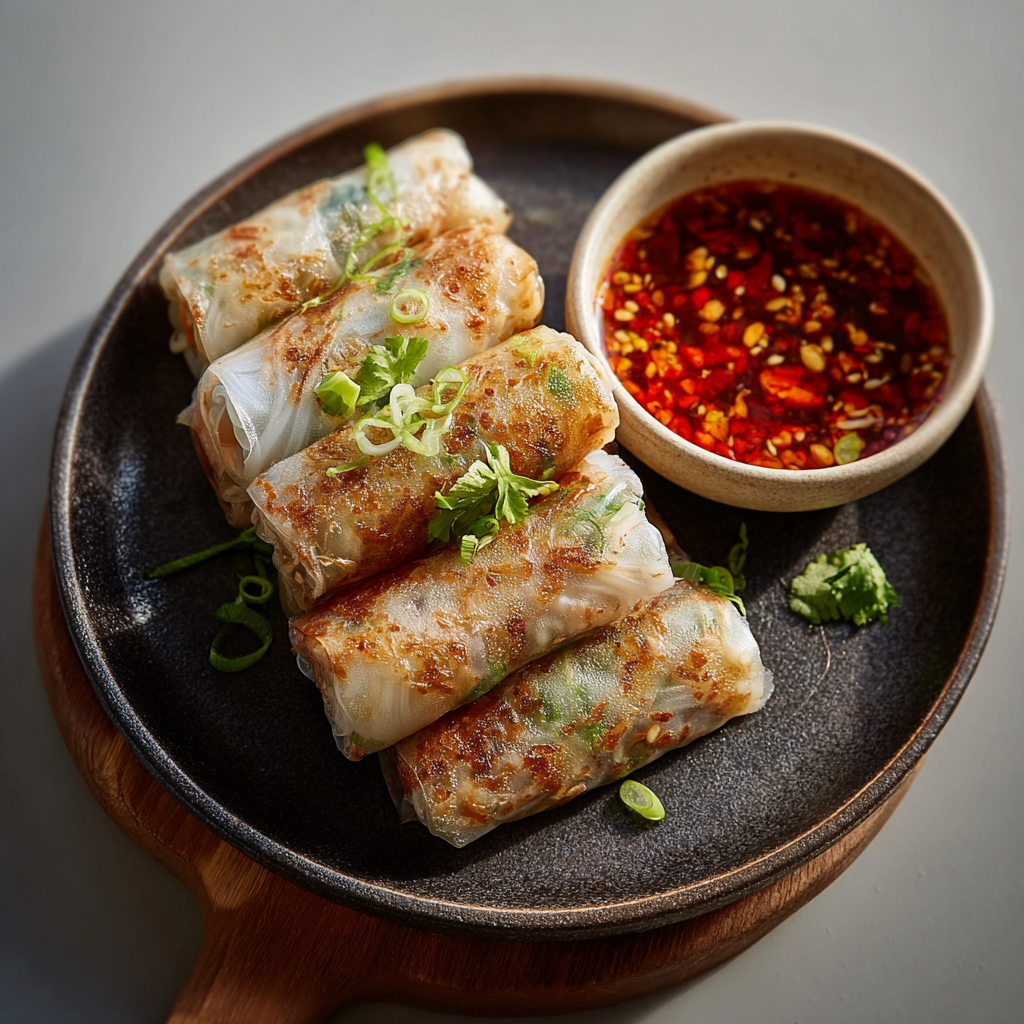
Air-Fried Rice Paper Noodle Rolls
Light, crisp rice paper rolls filled with vermicelli, veggies and tofu or shrimp, finished in the air fryer for a healthy, crunchy snack.
Air Fryer Apple Fries
Crispy, cinnamon-sugar coated apple sticks air-fried to golden perfection — a quick, family-friendly snack that tastes like fall in every bite.
Did You Make This?
Leave a comment & rating below or tag @cozycookscorner on social media!
Rate This Recipe
Share This Recipe
Enjoyed this recipe? Share it with friends and family, and don't forget to leave a review!
Comments (1)
This recipe looks amazing! Can't wait to try it.
Comments are stored locally in your browser. Server comments are displayed alongside your local comments.

Hi, I'm Lina!
What's Popular
30-Minute Meals!
Join to receive our email series which contains a round-up of some of our quick and easy family favorite recipes.