
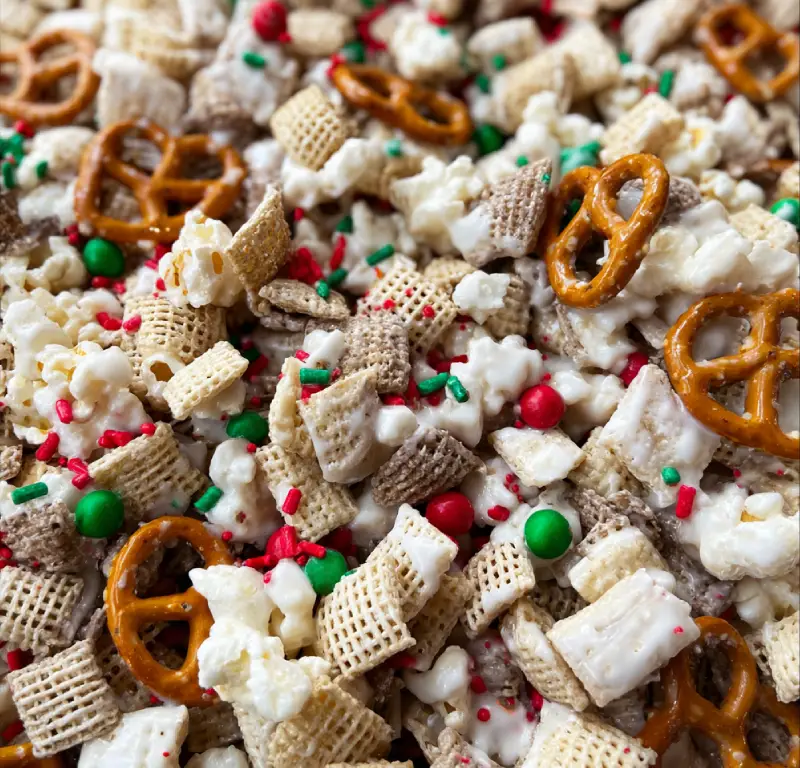
Gluten Free Reindeer Chow

A crunchy, chocolatey, peanut-butter coated snack mix made with certified gluten-free cereal — perfect for holiday gifting, movie nights, or a cozy afternoon nibble.

This recipe for Gluten Free Reindeer Chow has been my holiday lifesaver for years — an easy-to-make treat that disappears faster than any cookie tray I’ve ever brought to a party. I first developed this version when my nephew was diagnosed with celiac disease and I wanted to make something festive that everyone could enjoy together. The challenge was to recreate that nostalgic chocolatey, peanut-buttery coating you expect from classic snack mixes while keeping every ingredient certified gluten-free.
The result is crunchy Rice Chex coated in a glossy blend of chocolate and peanut butter, tossed with powdered sugar for a snowy finish. It’s sweet but not cloying, with a balance of creamy chocolate and a hint of salty nuttiness that keeps you reaching for more. I love making a double batch — one to gift in jars, and one to keep in a big bowl on the coffee table while we watch holiday films. Kids and adults alike ask for the recipe, and it’s become one of those memories that shows up every winter at our house.
Why You'll Love This Recipe
- Makes in about 25 minutes from start to finish — ideal for last-minute holiday prep or an after-school snack that feels special without a lot of fuss.
- Uses pantry-friendly ingredients: certified gluten-free cereal, shelf-stable chocolate chips, and peanut butter you probably already have on hand.
- Perfect for gifting: jars or cellophane bags filled with this mix will keep for up to two weeks when sealed and look charming with a ribbon and tag.
- Customizable and allergy-aware — easy swaps for dairy-free chocolate or sunflower seed butter to accommodate allergies without losing flavor.
- Kid-friendly technique: stirring in a big bowl and shaking in bags is satisfying for small hands and keeps kitchen cleanup to a minimum.
When I first tried coating the cereal with melted chocolate and peanut butter, I worried it would get soggy. The trick is low heat and a brief cooling period so the coating sets and stays crisp. My family prefers the slightly larger powdered sugar dusting for that nostalgic white-snow look — it becomes a visual cue that the season has arrived.
Ingredients
- Rice Chex (or other certified gluten-free cereal): 9 cups — look for the gluten-free label (e.g., General Mills Rice Chex) so everyone can enjoy it safely. The flat, porous squares pick up coating beautifully and remain crisp.
- Semi-sweet chocolate chips: 12 ounces (about 2 cups) — use a brand you trust for flavor; if you want dairy-free, substitute dairy-free chocolate chips of equal weight.
- Creamy peanut butter: 3/4 cup — smooth peanut butter blends into the chocolate for a glossy coating; natural peanut butter can be used but can alter texture and may separate slightly.
- Unsalted butter: 2 tablespoons — helps the coating set with a silky finish; can be substituted with coconut oil for a dairy-free version.
- Vanilla extract: 1 teaspoon — brightens the chocolate and rounds out the flavor.
- Powdered sugar (confectioners' sugar): 1 1/2 cups — for the snowy dusting; add more or less to taste.
- Coarse sea salt: 1/2 teaspoon — optional, but a small sprinkle enhances the chocolate and balances sweetness.
- Optional add-ins: 1/2 cup chopped nuts (almonds or pecans), 1/2 cup dried cranberries, or mini marshmallows — add after coating so they don’t melt.
Instructions
Step 1 — Measure and prep the cereal: Place 9 cups of certified gluten-free Rice Chex into a very large mixing bowl or two medium bowls so you have room to stir without spilling. Inspect the cereal for any large clusters and break them up with your hands so the coating will adhere evenly. Step 2 — Melt the chocolate and peanut butter: In a medium microwave-safe bowl, combine 12 ounces of semi-sweet chocolate chips, 3/4 cup creamy peanut butter, and 2 tablespoons unsalted butter. Microwave in 30-second bursts, stirring between each burst, until the mixture is smooth and glossy — about 1 to 1 1/2 minutes total depending on your microwave. Alternatively, melt over a double boiler on the stovetop, stirring constantly over gently simmering water to avoid scorching. Stir in 1 teaspoon vanilla extract and 1/2 teaspoon coarse sea salt until fully incorporated. Step 3 — Coat the cereal: Pour the melted chocolate-peanut butter mixture evenly over the cereal. Use a large rubber spatula to fold the mixture gently but thoroughly, scraping around the bowl so every square gets an even, thin coating. Work quickly but gently to avoid crushing the cereal; visual cues are a glossy sheen and minimal bare cereal showing. Step 4 — Sugar the mix: Transfer the coated cereal into a large zip-top bag or divide into two bags for easier shaking. Add the powdered sugar (about 1 1/2 cups) into the bag(s), seal, and shake vigorously until the cereal is well dusted and the coating has set slightly. If you prefer a lighter dusting, start with 1 cup and add more to taste. Step 5 — Cool and add mix-ins: Pour the mixture out onto a large baking sheet lined with parchment to cool for 10–15 minutes. While cooling, mix in optional add-ins like 1/2 cup chopped nuts or 1/2 cup dried cranberries; add mini marshmallows only after the mix has cooled so they don’t melt. Once fully cool and dry to the touch, transfer to airtight containers for storage or package into gift jars.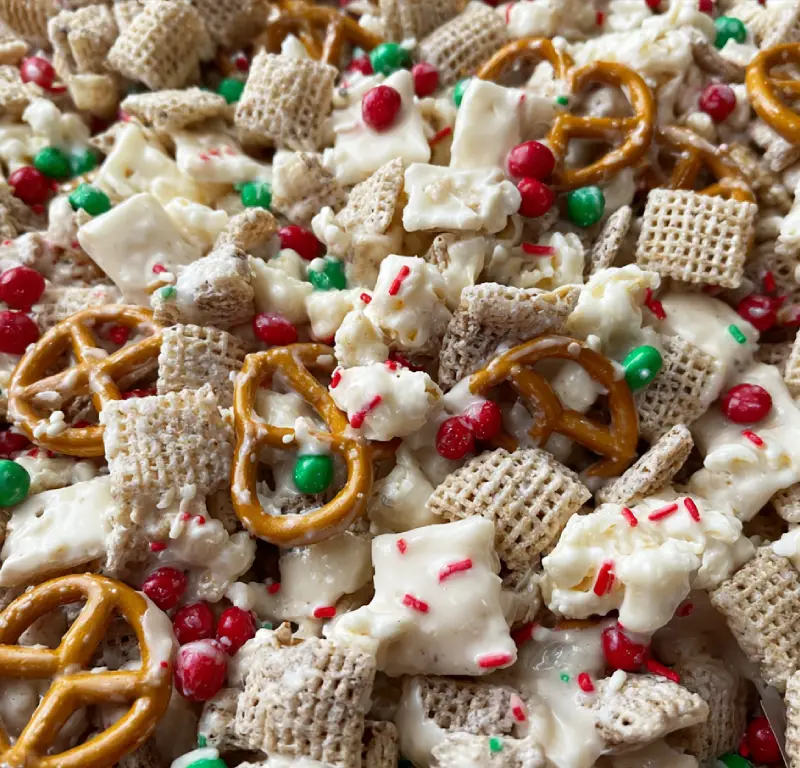
You Must Know
- Certified gluten-free cereal is essential: always check packaging to avoid cross-contamination for those with celiac disease.
- The treat freezes well for up to three months in a freezer-safe container; thaw at room temperature for about 30 minutes before serving.
- If you need dairy-free, swap semi-sweet chips for dairy-free chips and replace butter with refined coconut oil — flavor stays very close to the original.
- High in carbohydrates and treats sugars — this is a celebratory snack rather than a low-carb option; portion control helps keep it balanced.
My favorite part of this mix is the ritual of shaking the bag with powdered sugar. It’s almost meditative and always a moment of silly joy in my kitchen — kids volunteer to shake because it feels like making snow indoors. Last season I made jars for neighbors and several folks told me they remembered snacking on this from childhood, even if their family used wheat cereal. It’s one of those recipes that makes people smile when they taste it.
Storage Tips
Store the cooled mix in an airtight container at room temperature for up to two weeks; keep away from heat and humidity to maintain crispness. Use glass jars with tight-fitting lids (Mason jars are perfect for gifting), or vacuum-seal freezer bags for longer storage. If you plan to freeze, portion the mix into single-serving resealable bags so you can pull out just what you need. To refresh slightly softened pieces, bake on a sheet at 250°F for 5–7 minutes, then cool completely — this revives the crunch without changing flavor.
Ingredient Substitutions
For peanut-free households, substitute sunflower seed butter or soy nut butter 1:1 for peanut butter; both give a comparable texture and nutty depth. Use almond butter for a richer, slightly sweeter result, but note this introduces a tree-nut allergen. Swap semi-sweet chocolate chips for milk chocolate (sweeter) or dark chocolate (more bittersweet contrast). For gluten-free but grain-free options, try puffed millet or sorghum cereal; results vary slightly in crispness but the coating technique remains the same.
Serving Suggestions
Serve in a large festive bowl for holiday parties, or portion into small paper cones or jars as hostess gifts. Pair with hot cocoa or mulled cider for a cozy winter spread. Garnish with a few extra chopped nuts or a sprinkle of flaked sea salt for contrast. For a brunch buffet, include alongside fruit and yogurt — the sweet-salty crunch balances fresh and creamy items nicely.
Cultural Background
Snack mixes with powdered sugar coatings have long been part of American holiday traditions, with many regional variations known as puppy chow or muddy buddies. The name "Reindeer Chow" is a playful seasonal twist often used for holiday-themed packaging and gifting, evoking snowy imagery and festive charm. Though modern in popularity, these mixes echo older traditions of sweetened grain snacks served during celebrations and communal gatherings.
Seasonal Adaptations
For winter, stir in dried cranberries and use red-and-green sprinkles for visual flair. In summer, swap powdered sugar for a light dusting of cinnamon sugar and add freeze-dried fruit for brightness. For Valentine’s Day, use pink-colored candy melts for part of the coating and heart sprinkles. The base technique adapts easily across seasons — just match add-ins and colors to the occasion.
Meal Prep Tips
Make a big batch on a Sunday and portion into 1-cup servings in resealable bags for snack-ready options all week. If gifting, label jars with the date and storage instructions. Use sturdy containers to avoid crushing during transport. When prepping with kids, lay out measured portions in separate bowls and assign simple tasks — stirring, sealing bags, and shaking powdered sugar — to make it fun and efficient.
Every time I make this mix I’m reminded of the little rituals that make holidays distinct: the clatter of measuring cups, the chorus of “can I help?”, and the satisfied sighs as someone takes the first bite. It’s a humble treat that creates big moments, and I hope it finds a place at your table this season.
Pro Tips
Use a large bowl or divide cereal into two bowls to ensure even coating without spillage.
Microwave melted chocolate in short bursts and stir between them to avoid burning.
If powdered sugar clumps, break up with a fork in the sealed bag and shake again until evenly distributed.
For extra crunch, bake the coated cereal very briefly at 250°F for 5–7 minutes and cool completely.
This nourishing gluten free reindeer chow recipe is sure to be a staple in your kitchen. Enjoy every moist, high protein slice — it is perfect for breakfast or as a wholesome snack any time.
FAQs about Recipes
Is this truly gluten-free?
Yes — use certified gluten-free Rice Chex and check all add-ins for gluten-free labeling to ensure it's safe for people with celiac disease.
How long does Reindeer Chow keep?
Store in an airtight container at room temperature for up to two weeks; freeze up to three months.
Tags
Gluten Free Reindeer Chow
This Gluten Free Reindeer Chow recipe makes perfectly juicy, tender, and flavorful steak every time! Serve with potatoes and a side salad for an unforgettable dinner in under 30 minutes.
Ingredients
Base
Coating
Finishing
Optional add-ins
Instructions
Measure and prepare cereal
Place 9 cups of certified gluten-free Rice Chex into a large bowl, breaking up any clusters so the coating reaches every piece.
Melt chocolate and peanut butter
Combine 12 ounces chocolate chips, 3/4 cup peanut butter, and 2 tablespoons butter in a microwave-safe bowl. Microwave in 30-second bursts, stirring between each, until smooth. Stir in 1 teaspoon vanilla and 1/2 teaspoon salt if using.
Coat the cereal
Pour the melted mixture over the cereal and fold gently with a rubber spatula until evenly coated. Work quickly to avoid crushing the cereal.
Sugar the mix
Transfer the coated cereal into a large zip-top bag, add 1 1/2 cups powdered sugar, seal, and shake until evenly dusted. Adjust sugar amount to taste.
Cool and add mix-ins
Spread the mixture on a parchment-lined baking sheet to cool for 10–15 minutes. Fold in optional add-ins after cooling and store in airtight containers.
Last Step: Please leave a rating and comment letting us know how you liked this recipe! This helps our business to thrive and continue providing free, high-quality recipes for you.
Nutrition
Did You Make This?
Leave a comment & rating below or tag
@cozycookscorner on social media!
Categories:
You might also like...
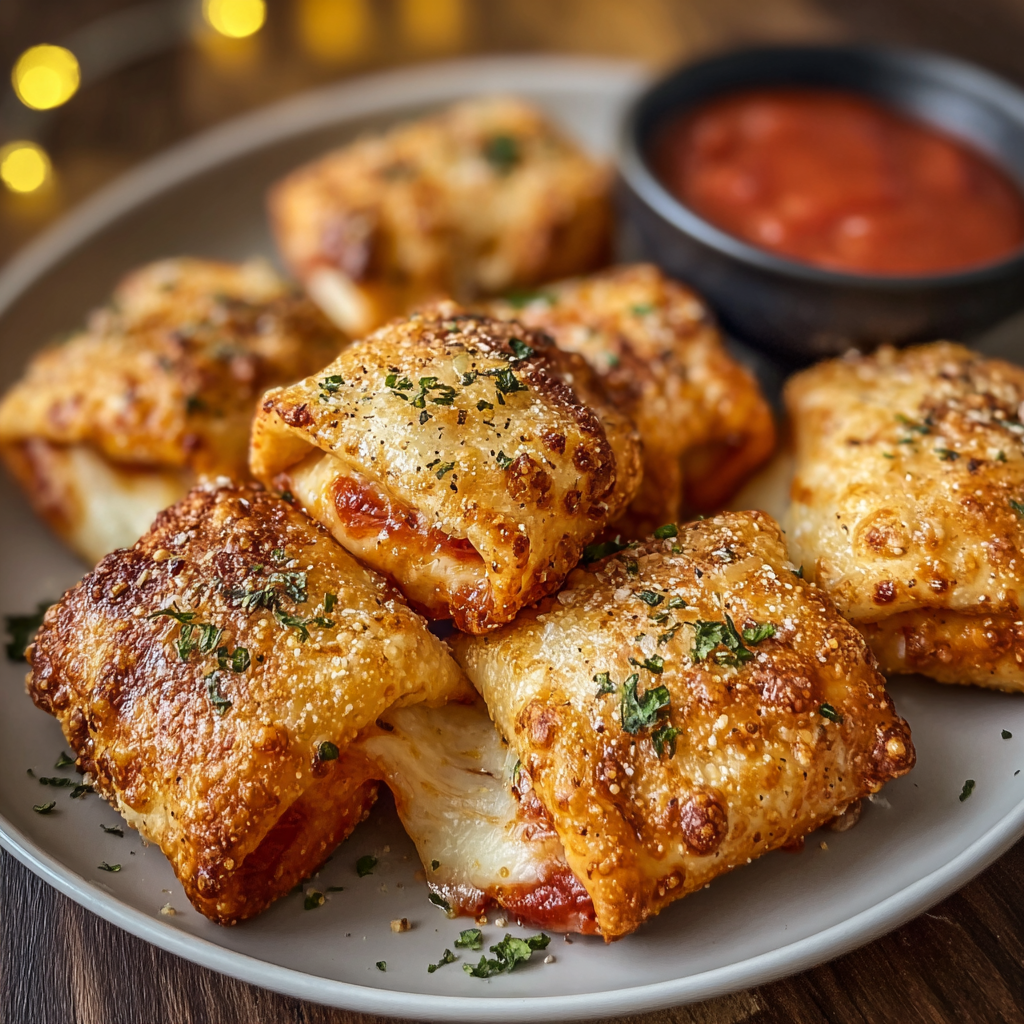
Air-Fried Pizza Rolls
Golden, crispy pizza rolls made in the air fryer — a quick, family-friendly snack with melty cheese, pepperoni, and a marinara dip.
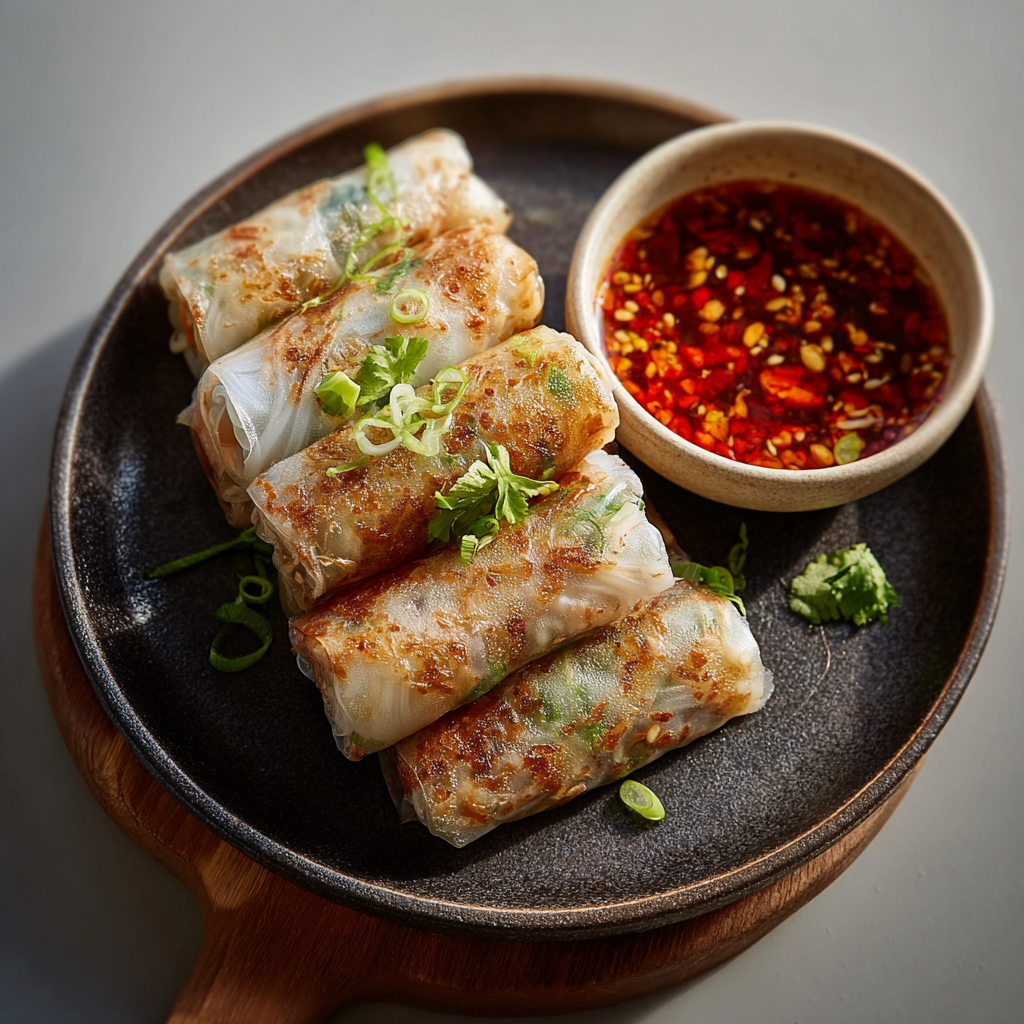
Air-Fried Rice Paper Noodle Rolls
Light, crisp rice paper rolls filled with vermicelli, veggies and tofu or shrimp, finished in the air fryer for a healthy, crunchy snack.
Air Fryer Apple Fries
Crispy, cinnamon-sugar coated apple sticks air-fried to golden perfection — a quick, family-friendly snack that tastes like fall in every bite.
Did You Make This?
Leave a comment & rating below or tag @cozycookscorner on social media!
Rate This Recipe
Share This Recipe
Enjoyed this recipe? Share it with friends and family, and don't forget to leave a review!
Comments (1)
This recipe looks amazing! Can't wait to try it.
Comments are stored locally in your browser. Server comments are displayed alongside your local comments.

Hi, I'm Lina!
What's Popular

30-Minute Meals!
Join to receive our email series which contains a round-up of some of our quick and easy family favorite recipes.