>>
30-MINUTE MEALS! Get the email series now →


Festive red-and-white twisted cookies flavored with peppermint — crisp at the edges, tender inside, and shaped into classic candy canes for holiday cheer.

This batch of Candy Cane Cookies has been my holiday go-to ever since I first experimented with peppermint and a simple twist of dough one December afternoon. I discovered the method while trying to recreate the look of candy canes without using extra frosting or cutters — just two ribbons of dough twisted together and shaped by hand. The result is a bite that delivers a bright peppermint note, a delicate crisp at the edge, and a tender, buttery center that melts pleasantly in your mouth. Every year the plate disappears: neighbors pop by, kids in the family reach for seconds, and the baking sheet empties faster than I can refill it.
I love these because they combine nostalgia and technique: familiar candy-cane visuals with straightforward pastry technique you can teach your kids. They are quick to mix, require no chill time, and bake in a flash — perfect for last-minute holiday gatherings or cookie exchanges. The peppermint is subtle, not overpowering, and the red stripe adds visual charm. Over the years I've tuned the texture so the edges develop a gentle snap while the inside stays tender, and I always keep a jar of these on the counter for guests during December evenings.
I remember making these with my niece one snowy afternoon: she insisted on making each cane perfectly crooked, which somehow made them taste even better. My family always notices the crisp edges and the buttery crumb — it’s the balance that keeps everyone coming back.

My favorite part is how these evoke the holidays without fuss. A tray at a party becomes an instant conversation starter — people love the handmade look and the bright peppermint. I always make at least double when I know neighbors are coming; they make excellent gifts, and the twist pattern keeps even imperfect hands feeling proud.
Store cooled cookies in an airtight container layered with parchment to prevent sticking. At room temperature they remain fresh for up to 5 days; if your kitchen is humid, keep them in the refrigerator for up to 7 days to preserve crispness. For long-term storage, place individual cookies or a single layer in a freezer-safe container and freeze for up to 3 months. To thaw, move to the refrigerator overnight then come to room temperature for 30–60 minutes. Reheat briefly in a 300°F oven for 4–6 minutes to refresh the crisp edges.
To make these dairy-free, substitute 1 cup dairy-free butter spread (stick style) and ensure powdered sugar is bone-char-free if that is a concern. For an egg-free version, replace 1 large egg with 3 tablespoons aquafaba or a commercial egg replacer; note the texture will be slightly more delicate. To make them gluten-free, use a 1-to-1 gluten-free flour blend and add 1/4 teaspoon xanthan gum if your blend does not already contain it; the cookies may spread a bit more and will be slightly crumblier but still delicious.
Serve these on a festive platter with sprigs of evergreen and small bowls of hot cocoa for dipping. They pair beautifully with a creamy hot chocolate or a sharp espresso to cut the sweetness. For a party, arrange them in holiday tins tied with a ribbon, or mix them with ginger snaps and shortbread for a seasonal cookie assortment. Garnish with a light dusting of extra powdered sugar for a snow-kissed look if desired.

The candy cane motif is a classic symbol of winter holidays in North America and parts of Europe, inspired by early confectionery shapes meant to delight children. This cookie interpretation borrows the visual language of the cane — the red stripe and hook — but translates it into a simple butter cookie technique. Handmade twisted cookies have roots in many baking traditions where simple doughs are shaped into festive icons, making them a natural addition to holiday tables that celebrate craft and communal baking.
In winter, increase the peppermint extract slightly and add a pinch of finely grated orange zest for brightness. For a spring version, swap peppermint for 1/2 teaspoon almond extract and dye the accent dough a pale pink. At Thanksgiving, replace peppermint with 1 teaspoon cinnamon and dye the accent dough a warm amber using natural beet powder or a touch of maple syrup tinting for a fall palette.
Mix the dough ahead and divide it into two logs wrapped tightly in plastic wrap; refrigerate for up to 48 hours. When ready to bake, slice off 1-tablespoon portions, roll into ropes, and shape into canes — there's no need to let chilled dough warm fully, but if it’s too firm it will crack, so give it 10–15 minutes at room temperature. For large batches, bake on multiple sheets simultaneously using convection or rotate pans halfway through for even color.
These candy cane confections are simple enough for weekday holiday baking yet special enough for gatherings. Try them with a cup of warm cocoa and enjoy the ritual of shaping, baking, and sharing — that moment when the kitchen fills with peppermint and the first cookie comes out warm is why I return to this recipe every season.
Use gel food coloring for the brightest stripe without adding extra liquid that would alter dough consistency.
Beat the butter and powdered sugar until very pale and fluffy to ensure a tender, light texture.
Roll ropes on a lightly floured surface and handle the dough gently to avoid warming the butter and losing the crisp edge.
This nourishing candy cane cookies recipe is sure to be a staple in your kitchen. Enjoy every moist, high protein slice — it is perfect for breakfast or as a wholesome snack any time.
Yes — you can freeze the baked cookies in a single layer in an airtight container for up to 3 months. Thaw at room temperature before serving.
If your dough is too sticky, add 1 tablespoon extra flour at a time and chill briefly. Avoid overworking or adding too much flour to keep them tender.
This Candy Cane Cookies recipe makes perfectly juicy, tender, and flavorful steak every time! Serve with potatoes and a side salad for an unforgettable dinner in under 30 minutes.
Preheat oven to 375°F (190°C). Line baking sheets with parchment paper and position racks in the center third of the oven for even cooking.
Beat 1 cup softened unsalted butter with 1 cup powdered sugar for 3–4 minutes until pale and fluffy. Scrape the bowl once to ensure even creaming.
Beat in 1 large room-temperature egg, 1 teaspoon vanilla extract, and 1/2 teaspoon peppermint extract until smooth and fully incorporated.
Slowly add 2 1/2 cups all-purpose flour and 1/2 teaspoon salt on low speed or fold in with a spatula. Aim for a soft, non-sticky dough; add up to 1 tablespoon extra flour if needed.
Split dough into two equal portions. Add red gel food coloring to one portion and knead gently until evenly colored. Avoid overworking to prevent warming the butter.
Roll 1 teaspoon plain and 1 teaspoon colored dough into 4-inch ropes. Twist them together, bend the top to form the cane, and place on parchment-lined sheets with space to spread.
Bake for 8–10 minutes until the bottoms are lightly golden. Cool on the pan for 5 minutes to set, then transfer to a wire rack to cool completely.
Last Step: Please leave a rating and comment letting us know how you liked this recipe! This helps our business to thrive and continue providing free, high-quality recipes for you.
Leave a comment & rating below or tag
@cozycookscorner on social media!

Golden, crispy pizza rolls made in the air fryer — a quick, family-friendly snack with melty cheese, pepperoni, and a marinara dip.

Light, crisp rice paper rolls filled with vermicelli, veggies and tofu or shrimp, finished in the air fryer for a healthy, crunchy snack.
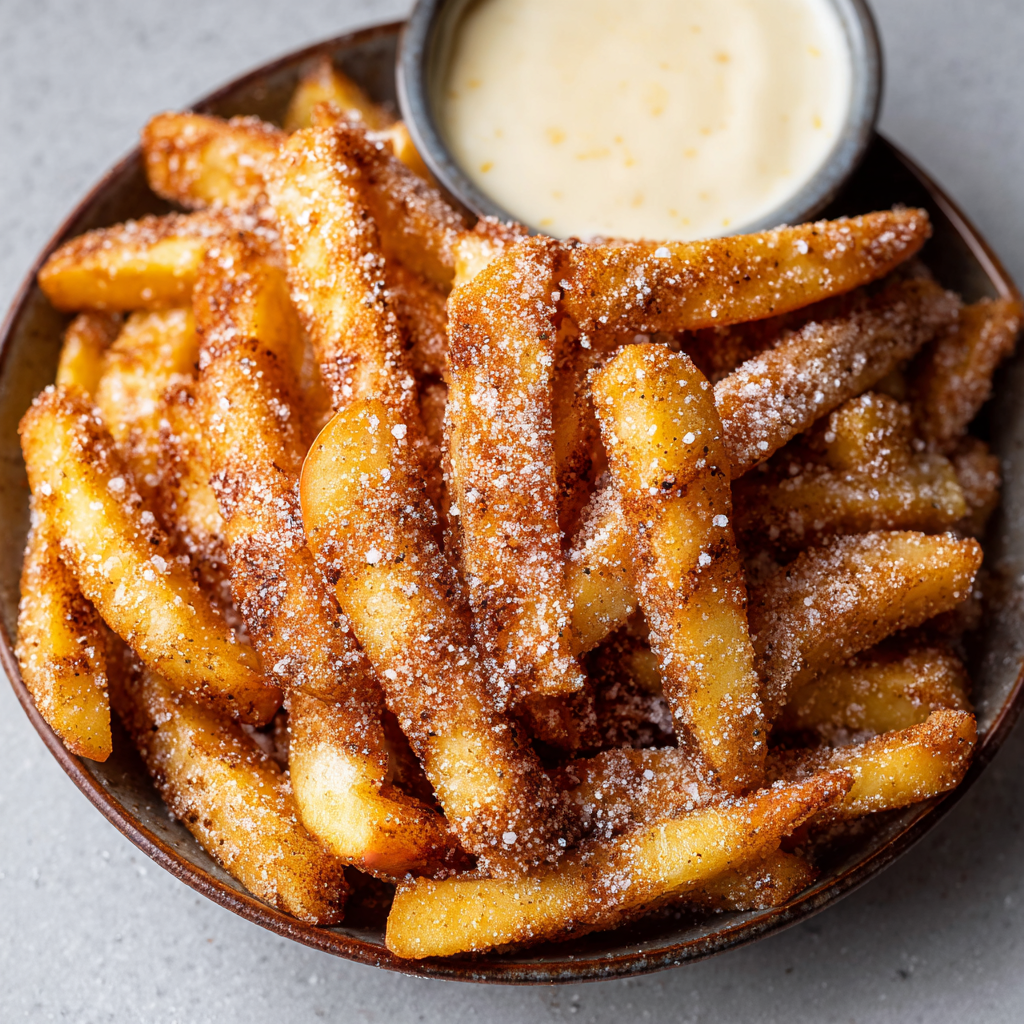
Crispy, cinnamon-sugar coated apple sticks air-fried to golden perfection — a quick, family-friendly snack that tastes like fall in every bite.
Leave a comment & rating below or tag @cozycookscorner on social media!
Enjoyed this recipe? Share it with friends and family, and don't forget to leave a review!
This recipe looks amazing! Can't wait to try it.
Comments are stored locally in your browser. Server comments are displayed alongside your local comments.

Join to receive our email series which contains a round-up of some of our quick and easy family favorite recipes.